Introduction
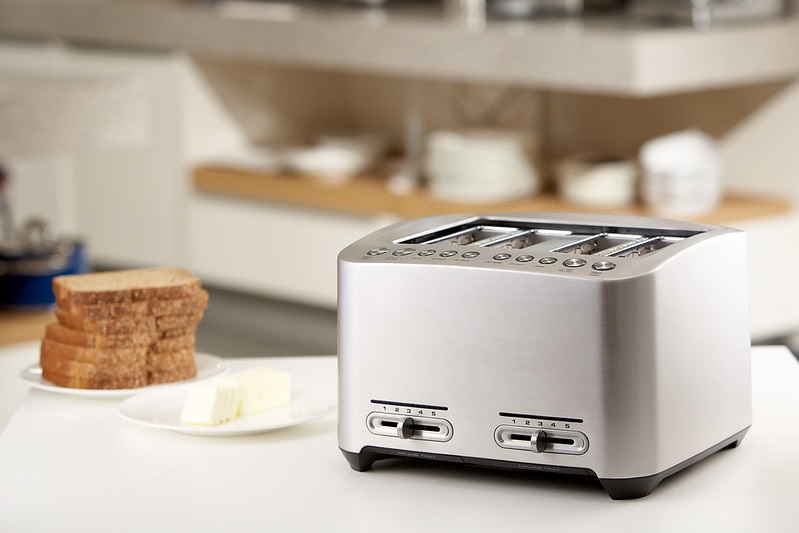
Toasters are common kitchen tools used in homes everywhere. They toast bread, bagels, and pastries quickly, making breakfast and snacks easy. Over time, toasters collect crumbs, grease, and dust, so cleaning them often is important. This helps keep them working well, safe to use, and lasting longer. This guide will show you how to clean a toaster and share helpful tips to take care of it.
Why Is Cleaning Your Toaster Important?
- Avoid Fires: Crumbs and grease can catch fire if not cleaned out.
- Keep It Working Well: Crumbs can block the toaster’s parts, causing uneven toasting or poor performance.
- Stay Clean: Old crumbs and grease can make the toaster unhygienic.
- Make It Last: Cleaning removes dust and build-up that can damage the toaster, helping it last longer.
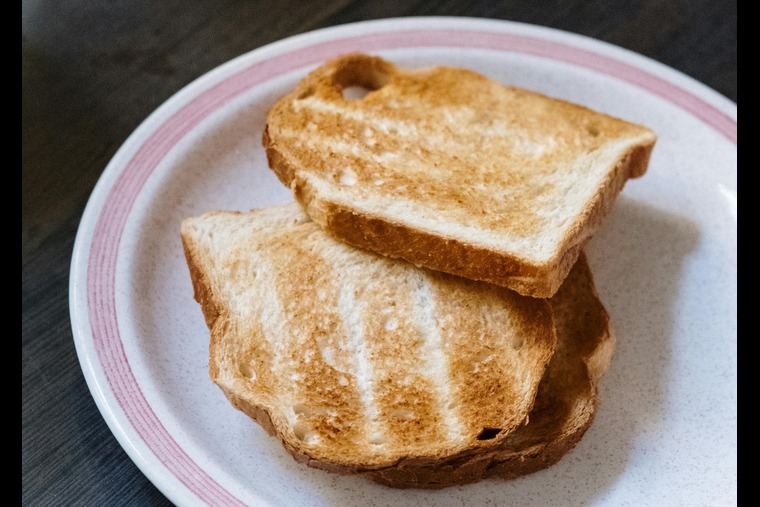
- Better Taste: A clean toaster prevents old crumbs or grease from affecting the taste of your food.
Tools and Materials Needed for Cleaning Your Toaster
- Soft brush or toothbrush
- Microfiber cloth or sponge
- Mild dish soap
- Baking soda
- Vinegar
- Dry cloth
- Trash bag or paper towel
Step-by-Step Cleaning Process
Unplug the Toaster
Before you clean your toaster, make sure to unplug it. This will keep you safe from getting an electric shock. It also stops the toaster from turning on by accident. Always unplug your toaster before cleaning.
Cool down
Before you clean your toaster, it’s a good idea to let it cool down first. This is important because the toaster’s parts can be very hot right after use, and touching them could burn you. Allowing it to cool gives it time to reach a safe temperature, making it easier and safer to clean
Remove the Crumb Tray
Your toaster has a special tray to catch crumbs that fall from the bread. This tray is called a crumb tray. You can find it at the bottom of your toaster. To clean the crumbs, you need to take out the tray. Gently pull it out from the bottom of the toaster.
Empty the Crumb Tray
Now that you have taken out the crumb tray, it’s time to throw away the crumbs. Hold the tray over a trash can and shake it gently. The crumbs will fall into the trash. You can also use a small vacuum cleaner to suck up the crumbs. This will make the tray clean and ready to use again
Shake Out Loose Crumbs
Turn your toaster upside down and hold it over a sink or a trash can. Now, gently move the toaster from one side to the other. This will make the stuck crumbs fall out. Keep shaking the toaster until all the crumbs are gone. This will keep your toaster clean and safe. It will also help it work properly.

Clean the Interior
To clean the inside of your toaster, use a small brush to remove any crumbs or debris that may have fallen inside. Gently brush the crumbs out through the slots or a crumb tray if your toaster has one. Be careful not to damage any parts inside while cleaning. If you notice grease or dirt, you can use a damp cloth to clean those spots, but make sure everything is completely dry before plugging the toaster back in.
Wipe Down the Exterior
Take a soft cloth and dampen it with warm soapy water or a kitchen-safe degreaser. Use this cloth to wipe the outside of your toaster, focusing on spots like the buttons, levers, and edges because these areas can collect dirt and grease over time. Make sure to clean these spots well to remove any built-up grime. After cleaning, use a separate clean, dry cloth to thoroughly dry the outside of the toaster.
Dry Thoroughly
After you finish cleaning the toaster, take a dry cloth and wipe both the inside and outside to remove any remaining moisture. It’s very important to make sure everything is completely dry before you plug the toaster back in. This prevents any electrical problems or risks of shocks. Taking this extra step helps keep your toaster safe to use and ensures it works properly every time. Always double-check that no water is left before using it again.
Deep Cleaning (Optional)
Crumbs or grease can sometimes get stuck inside the toaster. If you think there’s a build-up inside, follow these steps:
- Use a soft brush or a handheld vacuum to clean gently between the slots and heating parts.
- Don’t use metal tools or rough materials, as they can harm the toaster’s parts.
- If there’s grease or tough dirt, use a cloth dampened with warm water or Vinegar and a little mild dish soap to clean the inside carefully. Just be sure not to make it too wet.
Reassemble and Test
After cleaning and drying all the parts, put the crumb tray and any other removable pieces back in place. Next, plug the toaster back into the power outlet. Turn it on to check if it is working properly. Testing it will confirm that everything is clean, reassembled, and functioning as it should. This final step ensures your toaster is ready to use safely and efficiently.
Tips for Keeping Your Toaster Clean
- Clean Your Toaster Regularly: Clean your toaster every few weeks to stop crumbs and grease from building up.
- Empty the Crumb Tray Often: Make it a routine to empty the crumb tray after each time you use the toaster.
- Don’t Put It in Water: Never dunk your toaster in water. Instead, clean it with a damp cloth or sponge.
- Use a Toaster Cover: Consider getting a cover to protect your toaster from dust and kitchen grease when you’re not using it.
Common Toaster Cleaning Mistakes to Avoid
- Don’t Use Rough Cleaning Tools: Avoid using metal scrubbing pads or strong cleaning chemicals, as they can scratch or damage your toaster. Stick to soft sponges or cloths for cleaning.
- Never Put Your Toaster in Water: Submerging your toaster in water can damage its electrical parts and create a serious fire risk. Always clean it with a damp cloth instead.
- Don’t Ignore the Crumb Tray: The crumb tray collects leftover crumbs, but if you leave it full, it can increase the risk of a fire. Always clean it regularly.
- Clean Your Toaster Often: Waiting too long between cleanings allows crumbs and grease to build up, which can cause the toaster to stop working or even lead to a malfunction. Regular cleaning keeps it safe and working well.
Conclusion
Cleaning your toaster the right way helps keep it working well and lowers the chances of fire risks or hygiene problems. Following the step-by-step instructions provided makes it easy to include toaster cleaning as part of your regular kitchen cleaning habits. This simple maintenance will ensure your toaster stays safe to use and continues to work properly for a long time. By taking a few minutes to clean it, you can avoid future problems and enjoy safer, worry-free use.
FAQs
Q1: How often should I clean my toaster?
Clean your toaster every week to keep it working well. If you use it every day, clean it more often.
Q2: Can I use vinegar to clean my toaster?
Vinegar is good for cleaning, but don’t put too much in your toaster. Too much vinegar can damage it. Instead, use a cloth with warm water and a little soap. This is the best way to clean your toaster.
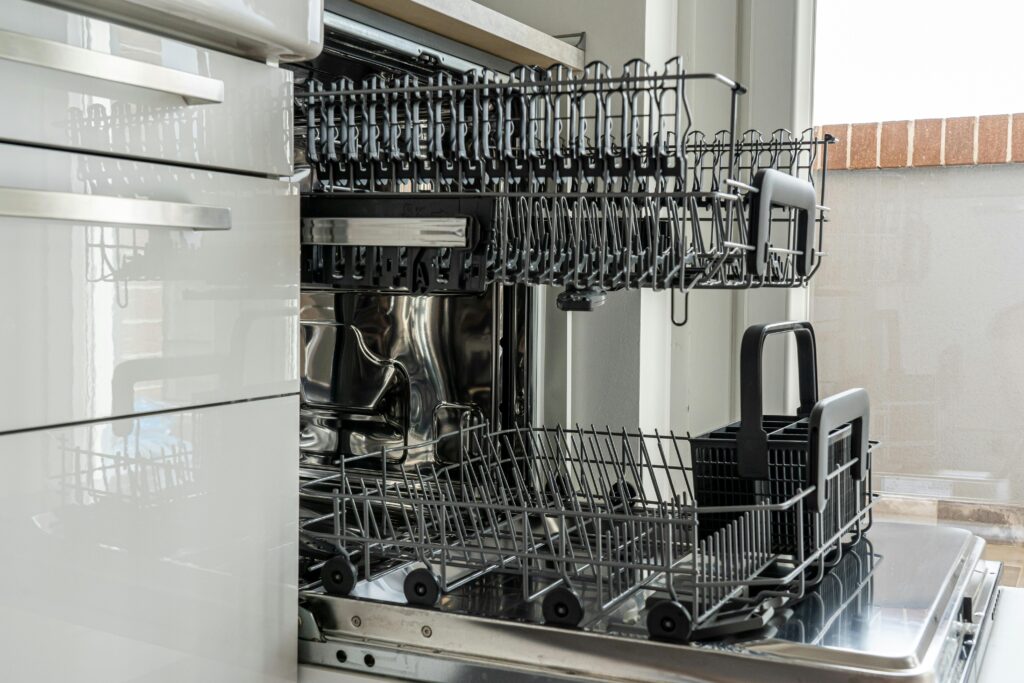
Q3: Is it okay to clean my toaster in the dishwasher?
No, you should never put your toaster in the dishwasher because the water can harm its parts. Always clean it using the hand-cleaning methods explained earlier.
Q4: Is it worth cleaning a toaster?
Taking the time to clean it often is worth it to keep it safe and working properly.